The Ultimate Guide: Banishing Hard Water Stains with Vinegar & Baking Soda
Introduction
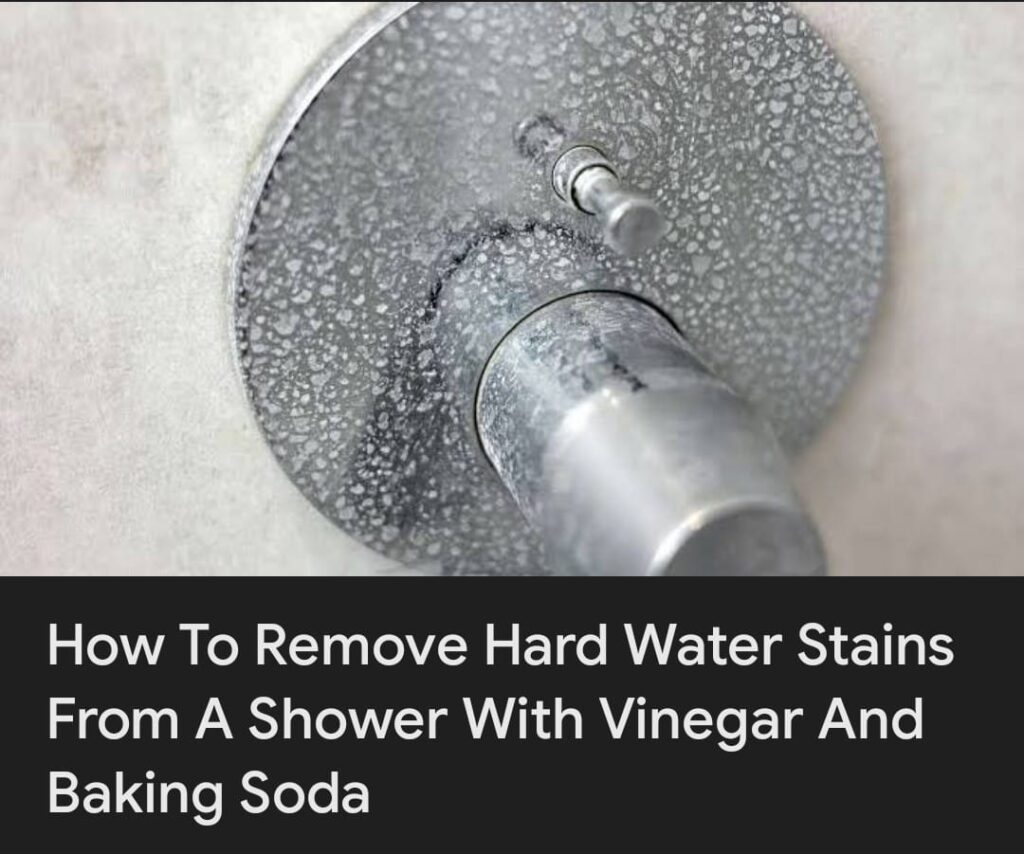
The Ultimate Guide: Banishing Hard Water Stains with Vinegar & Baking Soda Do you dread stepping into your shower, only to be greeted by those unsightly white, crusty rings and cloudy spots? Those stubborn marks are hard water stains, the unwelcome souvenir left behind by mineral-rich water. While they can make even the cleanest bathroom look neglected, you don’t need harsh, expensive chemicals to fight back. The secret weapon is probably already in your pantry.
This friendly guide is your go-to resource for conquering hard water stains using two safe, natural, and incredibly effective champions: white vinegar and baking soda. We’ll walk you through why this dynamic duo works, provide a foolproof step-by-step cleaning method, and share pro tips to keep your shower sparkling. Say goodbye to scrubbing until your arms ache and hello to a naturally brilliant clean!
What Are Hard Water Stains and Why Are They So Stubborn?
First, let’s understand our opponent. Hard water contains high levels of dissolved minerals, primarily calcium and magnesium. Every time a water droplet evaporates on your shower glass, tile, or faucet, it leaves these minerals behind. Over time, they build up into the crusty, chalky deposits we know as limescale or hard water stains.
They’re “stubborn” because these mineral deposits are alkaline and bond tightly to surfaces. Plain water won’t dissolve them, and regular cleaning sprays often just gloss over the top. To break them down, we need a gentle acid that can dissolve the mineral bonds without damaging your fixtures. That’s where our first hero comes in.
Why Vinegar and Baking Soda Are a Cleaning Power Couple
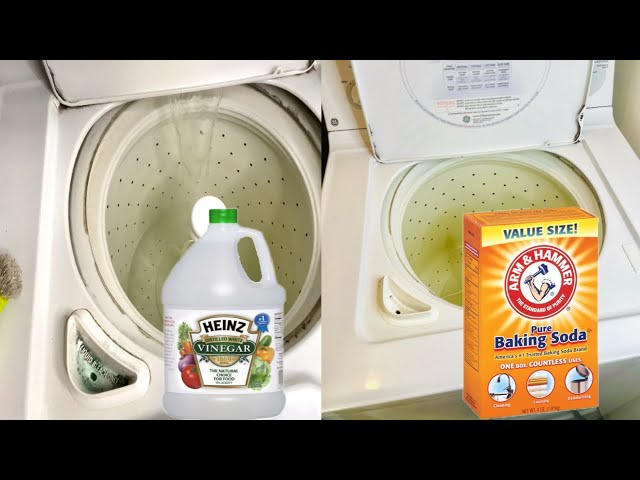
You might have heard about using vinegar or baking soda for cleaning, but together, they’re a powerhouse team for tackling hard water stains.
- White Vinegar (The Dissolver): This is a mild acetic acid. Its acidity is perfect for safely dissolving the alkaline mineral deposits (calcium carbonate) that make up hard water stains. It breaks down the crust so it can be wiped away.
- Baking Soda (The Scrubber & Neutralizer): Baking soda is a gentle, non-abrasive alkaline powder. It serves three key roles:
- Gentle Abrasive: It provides just enough grit to help scrub away the dissolved deposits without scratching delicate surfaces like glass or chrome.
- Deodorizer: It neutralizes any lingering odors.
- Reaction Booster: When combined with vinegar, it creates a fizzing reaction. This effervescence helps to agitate and lift the stain from microscopic pores in the surface, making the cleaning process more effective.
Using them together is a classic, safe, and eco-friendly one-two punch for household cleaning.
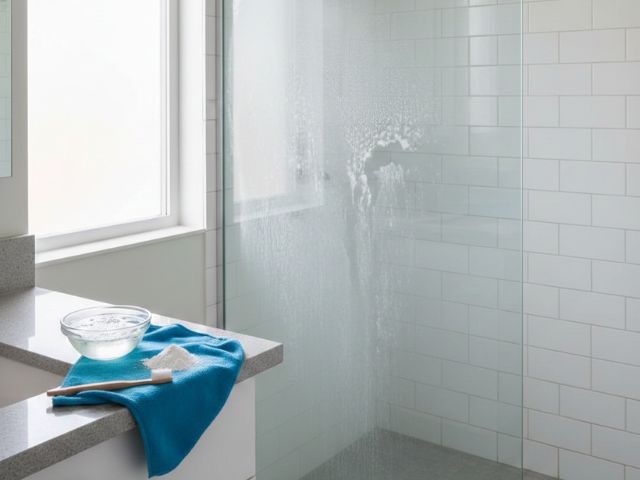
What You’ll Need: Your Natural Cleaning Toolkit
Gathering your supplies is easy. Here’s your checklist:
- Distilled White Vinegar (A standard 5% acidity is perfect)
- Baking Soda (Standard arm & hammer-type)
- Spray Bottle
- Soft Microfiber Cloths or Sponges (Avoid abrasive scouring pads!)
- An old toothbrush or small cleaning brush
- Optional but helpful: A squeegee, a plastic bowl or bag, and rubber gloves.
Step-by-Step: How to Remove Hard Water Stains from Your Shower
Follow these simple steps for a comprehensive clean. Always test a small, inconspicuous area first if you have sensitive stone (like marble or travertine), as acid can etch natural stone.
Step 1: The Initial Vinegar Soak (For Tough Buildup)
For heavy, crusty stains on showerheads, faucets, or drain covers, start with a direct soak.
- For a showerhead: Fill a plastic bag with enough white vinegar to submerge the showerhead. Secure the bag around the fixture with a rubber band. Let it soak for at least one hour, or overnight for severe buildup.
- For faucets and drains: Soak a cloth in pure vinegar and wrap it around the stained area, letting it sit for 30-60 minutes.
This pre-soak will loosen the bulk of the deposit, making the next steps much easier.
Step 2: Create and Apply Your Cleaning Paste
This is your main cleaning agent for walls, doors, and tiles.
- In a small bowl, mix baking soda with a small amount of vinegar or water. You’re aiming for a thick, spreadable paste—think toothpaste consistency.
- Using a cloth or your fingers (gloves are handy here!), apply the paste generously over the hard water stains. Ensure you cover the affected areas completely.
- Let the paste sit for 5-10 minutes. You might see some gentle fizzing—that’s the reaction working to lift the stain!
Step 3: The Detailed Scrub
Now it’s time for some light elbow grease.
- Use a damp microfiber cloth or non-abrasive sponge to gently scrub the area in a circular motion. The baking soda paste will provide a gentle abrasive action.
- For tight corners, grout lines, and intricate faucet details, use your old toothbrush to get into the nooks and crannies.
- As you scrub, you’ll see the paste turning greyish—that’s the dissolved minerals and grime being lifted away.
Step 4: The Final Vinegar Rinse & Shine
This step ensures all residue is dissolved and leaves a streak-free shine.
- Fill your spray bottle with pure or slightly diluted white vinegar (a 1:1 ratio with water works well for maintenance).
- Spray the entire cleaned area liberally. This will neutralize any remaining baking soda, dissolve the last bits of mineral film, and help prevent streaking.
- Wipe everything down thoroughly with a clean, damp microfiber cloth.
- Pro Tip: For glass shower doors, use a squeegee to remove the final rinse water. Then, polish dry with a clean, dry microfiber cloth for a truly spectacular, streak-free finish.
Pro Tips for Prevention and Maintenance
An ounce of prevention is worth a pound of cure! Keep hard water stains from coming back quickly with these easy habits:
- Squeegee After Every Shower: This is the single most effective habit. Taking 30 seconds to squeegee or wipe down walls and doors after use prevents water from evaporating and leaving deposits.
- Weekly Vinegar Spray: Once a week, give your shower a quick spritz with a 50/50 vinegar-water solution after you clean yourself. Just let it air dry—no wiping needed!
- Dry Your Fixtures: Use a dry towel to buff faucets and showerheads after deep cleaning to slow new buildup.
- Consider a Water Softener: If hard water is a major, recurring problem in your home, a water softener system is a long-term investment that protects all your appliances and plumbing.
#Jabalpur #HomeCleaning #MaidService #ProfessionalCleaning #JabalpurServices #UrbanCleaningJabalpur #IzakHomeServices #GharKiSafai #HomeMaintenance #CleaningHacks #MaidVsProfessional
Don’t wait for dirty water to affect your health! Book professional Water Tank Cleaning Services in Jabalpur today via WhatsApp
| Kitchen Cleaning Near Me | /kitchen-cleaning/ |
| Bathroom Cleaning Jabalpur | /bathroom-cleaning/ |
| Water Tank Cleaning Near Me | /water-tank-cleaning-expert-jabalpur/ |
| House Deep Cleaning Jabalpur | /house-deep-cleaning/ |
| Sofa Shampooing Service | /sofa-cleaning/ |
| Professional Home Cleaning Jabalpur |
Izak Home Services – Jabalpur ka Trusted Cleaning Partner
Conclusion
Restoring your shower to its original sparkle doesn’t require a chemistry degree or a cabinet full of toxic cleaners. With the simple, natural combination of white vinegar and baking soda, you have everything you need to effectively dissolve, scrub, and rinse away even the most stubborn hard water stains.
This method is safe for your family, kind to the environment, and incredibly kind to your wallet. So, grab those pantry staples, put on your favorite podcast, and transform your shower from drab to dazzling. A cleaner, brighter bathroom oasis is just a fizz and a wipe away!
Frequently Asked Questions (FAQs)
Q1: Can I use apple cider vinegar instead of white vinegar?
A: It’s best to stick with distilled white vinegar. It has a higher acidity level (typically 5%) and won’t leave any sugary residues or colors behind that apple cider vinegar might.
Q2: Will the vinegar smell linger in my bathroom?
A: Not at all! The strong vinegar smell dissipates completely as it dries, usually within minutes. Any faint scent will be gone by the time you’re finished rinsing and wiping.
Q3: Is this method safe for all shower surfaces?
A: It is generally safe for ceramic tile, porcelain, glass, and chrome/steel fixtures. However, it is NOT safe for natural stone surfaces like marble, limestone, or travertine. The acid in vinegar can etch and damage these delicate stones. For natural stone, use a cleaner specifically formulated for it.
Q4: What if the stains don’t come off after the first try?
A: For extremely heavy, neglected buildup, you may need to repeat the process. Let the vinegar-soaked cloth or paste sit for longer (even overnight on tough spots). Patience and repetition will work where brute force won’t.
Q5: Can I mix the vinegar and baking soda in the spray bottle for a ready-made cleaner?
A: We don’t recommend this. They react immediately and neutralize each other, leaving you with mostly salty water in your bottle. For maximum effectiveness, apply them separately as described in the steps: the paste first, then the vinegar rinse.